Stained glass headboard - Dean's Stained Glass
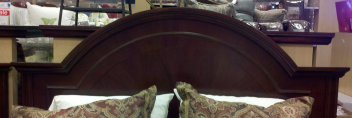
Bombay Company bed.... inspiration fo this stained glass headboard
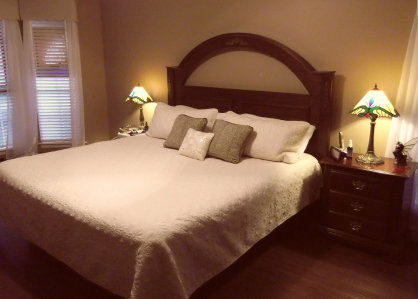
Bed finished.... waiting on the stained glass
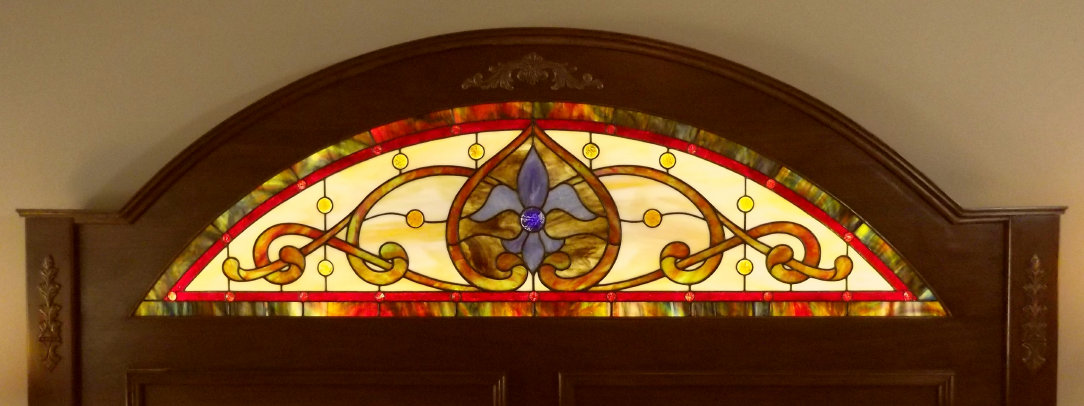
Victorian Parlor Transom - the inspiration for this project
Stained Glass Headboard - Dean's Stained Glass
Stained Glass Headboard - before glass installation
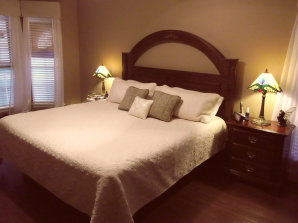
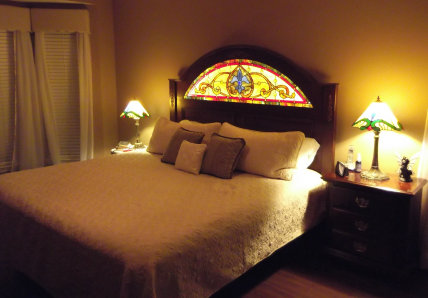
Stained Glass Headboard - after glass installation
LED lightbox
Attaching the headboard to the platform base
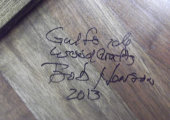
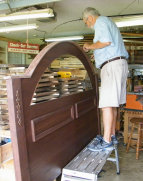
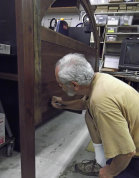
Bob signing his masterpiece
Almost finished... waiting for the varnish to dry
Installing arched top molding
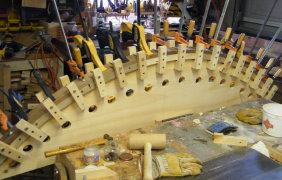
Jig built to bend top molding
Bob's homemade steamer .... to bend molding
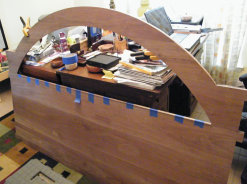
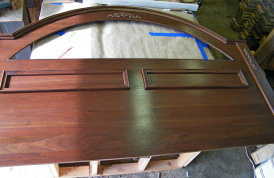
The completed walnut panel
Designing the arch opening
Mortising the bed uprights
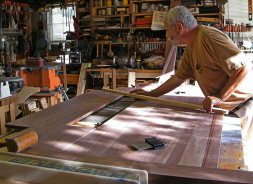
Planing to perfection
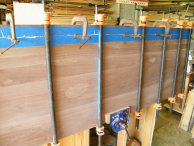
Edge glueing to make a panel
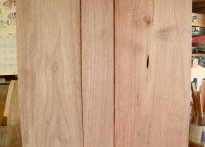
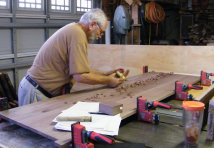
Matching the walnut boards
Building the platform bed
Dean's Stained Glass
Dean's Stained Glass
Stained Glass Headboard
I've always wanted to build a stained glass headboard, but just never could find the right idea. Back in 2011, my wife and I were shopping in a local department store. I spotted the bed on the right and thought it would really be neat to build a similar headboard ..... but add stained glass in the arched area. This headboard was a bedding display and apparently was made by the Bombay Company of Canada. The company was out of business, so this picture and a few hastily made measurements in the store, had to be my inspiration for this project.
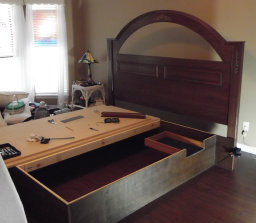
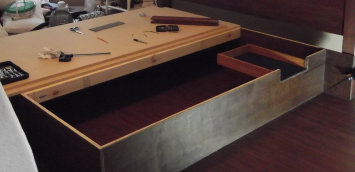
The first step in this project was to build a platform bed to support the headboard. Basically, I built a box 14" high out of 3/4" Birch plywood. The base is 73" long and 63" wide at the foot and 80" wide at the head to attach to the headboard. The base is set in 6" on the sides and bottom so that the bed platform overhangs 6" on 3 sides. A center 2x4 support was added for additional stability. I used 2 pieces of 3/4" MDF 37.5" x 79" as the platform. After building the platform base , I had a perspective as to how big I wanted to build the headboard.
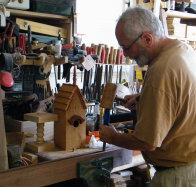
I drew up plans for the headboard and fortunately found Bob Henson, a master furniture craftsman who lives nearby, to undertake this project. Bob had some solid black walnut he had been saving for years that he suggested for the project. We made a few design changes and construction began. In a couple of months Bob delivered the bed..... absolutely perfect and far better than I could have ever imagined. The pictures below illustrate some of the work involved to build the headboard.
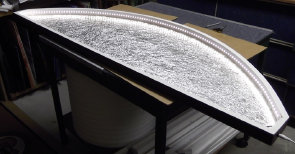
So that the stained glass would light up, I built a light box to go behind the headboard. I used pvc 1x 2's to bend and create an arched box to mount behind the glass. The back of the box is 1/4" luan plywood and the inside of the box is coated with crinkled aluminum foil to reflect light. I used a 16' strip of LED's all the way around the light box to provide cool and efficient lighting. The 300 LEDs are powered by a 12v 2A power supply with dimmer. Total power used at full brightness is 24 watts.
Part of the inspiration for the stained glass for this project came from the glass on the left. Apparently, this was a century old Victorian parlor transom from the Chicago area. I really like the central element and the way the vines intertwine ... so I tried to work some of these ideas into my drawing.
This is probably one of the most challanging and rewarding projects I have attempted. Bob did a masterful job building the bed and I was excited how well my glass looks with the LED lightbox. Stained glass looks dramatically different under different lighting conditions. With the variable output of the LEDs, a number of different lighting effects can be created.
Attaching the headboard to the platform base
Bed finished.... waiting on the stained glass
Building the headboard ....
Edge glueing to make a panel
Matching the walnut boards
Installing arched top molding
Designing the arch opening
Mortising the bed uprights
Planing to perfection
The completed walnut panel
Bob's homemade steamer .... to bend molding
Building the stained glass arch
Bob signing his masterpiece
Jig built to bend top molding
After delivery of the headboard, I was able to measure the exact size and shape of the arch opening .... so I could draw a stained glass pattern. Since the glass design and construction was going to take several months, I went ahead and assembled the bed. Photos on the right show headboard and base detail and finished bed without the glass.
Almost finished... waiting for the varnish to dry
Stained glass headboard
Building the platform bed base
LED lightbox
Stained Glass Headboard
Stained Glass Headboard - before glass installation
Stained Glass Headboard - after glass installation
Stained Glass List:
The stained glass arch for this headboard was finished in August, 2013. It measures 18" high and 64" long and contains 152 pieces of glass.
Kokomo 111 - Multicolor outside band
Spectrum 152G - Red accent band
Spectrum 315.1 - Beige background
Armstrong 135S - Victorian vines
Kokomo 61SPLXV - Center background
Armstrong 114S - Blue fleur-de-lis
30 assorted glass jewels
Victorian Parlor Transom - the inspiration for this project
